N150 nas
安装PVE
使用dd安装PVE镜像,才能install成功dd bs=1M conv=fdatasync if=./proxmox-ve_*.iso of=/dev/XYZ
核显SRIOV
- Install build tools:
apt install build-* dkms - Install the kernel and headers for desired version:
apt install proxmox-headers-6.8 proxmox-kernel-6.8(for unsigned kernel). - Download deb package from the releases page
1
wget -O /tmp/i915-sriov-dkms_2025.07.22_amd64.deb "https://github.com/strongtz/i915-sriov-dkms/releases/download/2025.07.22/i915-sriov-dkms_2025.07.22_amd64.deb" - Install the deb package with dpkg:
dpkg -i /tmp/i915-sriov-dkms_2025.07.22_amd64.deb - Once finished, the kernel commandline needs to be adjusted:
nano /etc/default/gruband changeGRUB_CMDLINE_LINUX_DEFAULTtointel_iommu=on i915.enable_guc=3 i915.max_vfs=7 module_blacklist=xe, or add to it if you have other arguments there already. - Update
grubandinitramfsby executingupdate-grubandupdate-initramfs -u - Optionally pin the kernel version and update the boot config via
proxmox-boot-tool. - In order to enable the VFs, a
sysfsattribute must be set. Installsysfsutils, then doecho "devices/pci0000:00/0000:00:02.0/sriov_numvfs = 7" > /etc/sysfs.conf, assuming your iGPU is on 00:02 bus. If not, uselspci | grep VGAto find the PCIe bus your iGPU is on. - Reboot the system.
- When the system is back up again, you should see the number of VFs under 02:00.1 - 02:00.7. Again, assuming your iGPU is on 00:02 bus.
- You can passthrough the VFs to LXCs or VMs. However, never pass the PF (02:00.0) to VM which would crash all other VFs.
immortalwrt
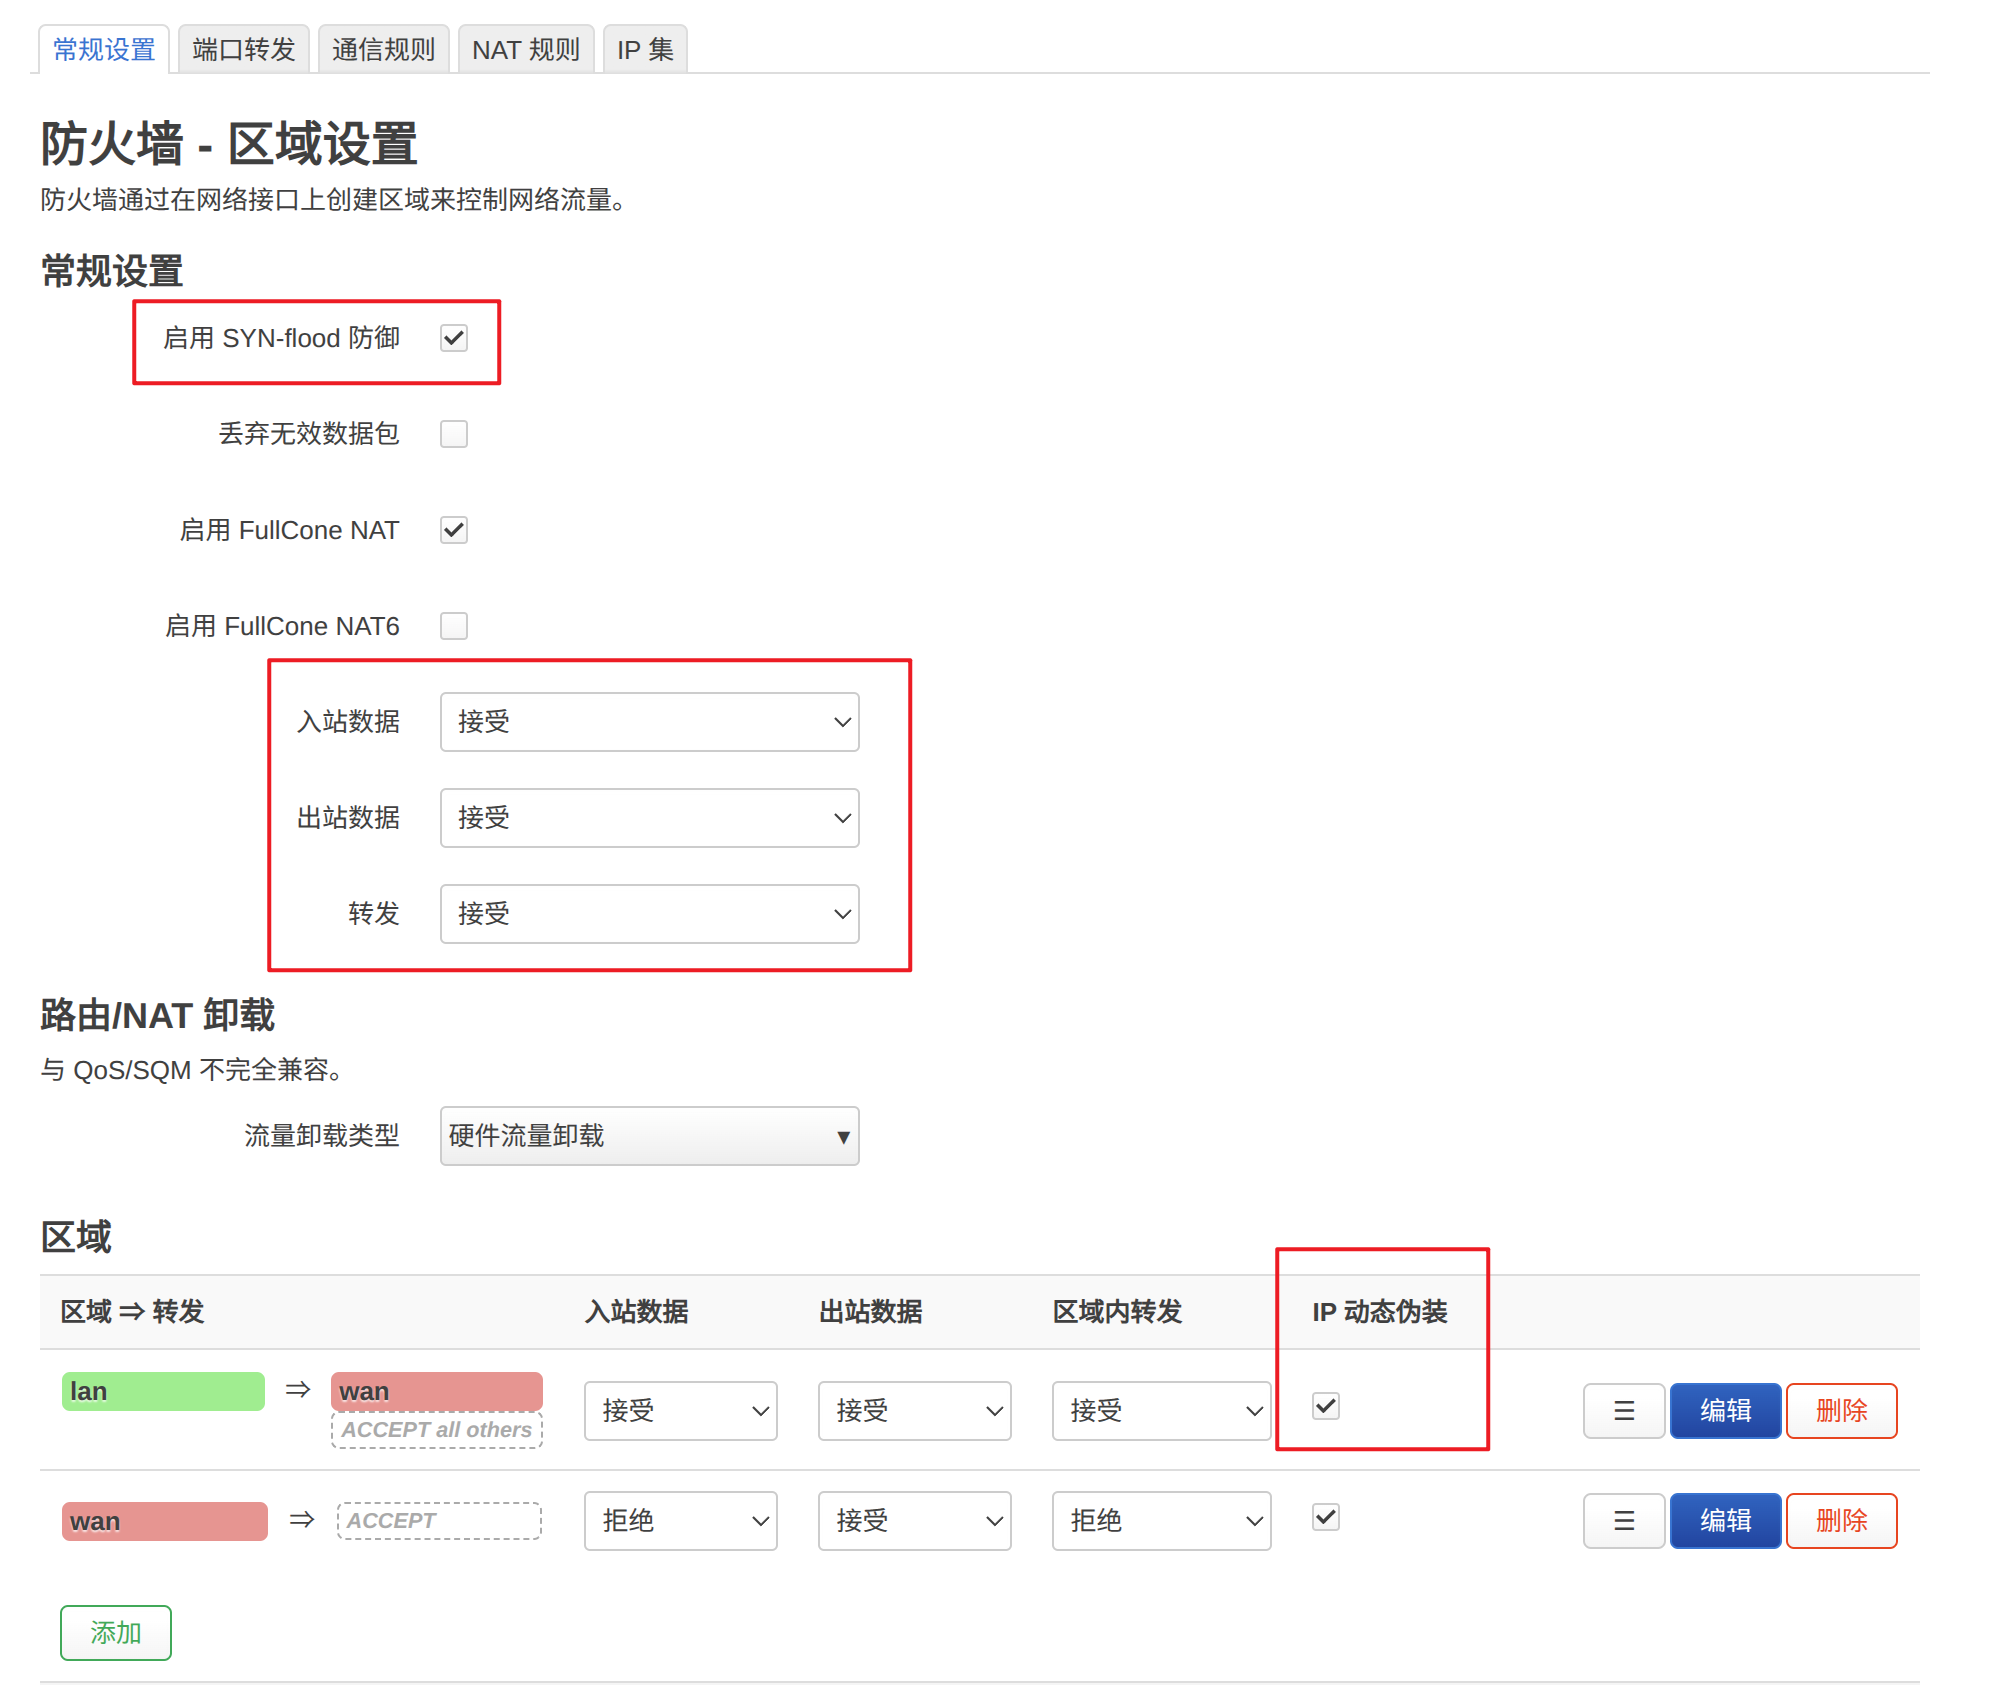
配置称旁路由后,将电脑的网关设置成 LAN 的IP地址,发现能ping通不能连上网。
可能是因为回来的TCP包 ip被改了。可以如下修改。
openclash
按照机场教程搞一下就行
fnos
SRIOV直通核显
在分配虚拟显卡后,还要在os内安装 i915-sriov-dkms
扩展磁盘
fdisk创建分区pvcreate /dev/sdax- 查看当前卷组:
vgdisplay - 扩展卷组:
vgextend <vg_name> /dev/sdb1
bilisync
部分配置
1 | |
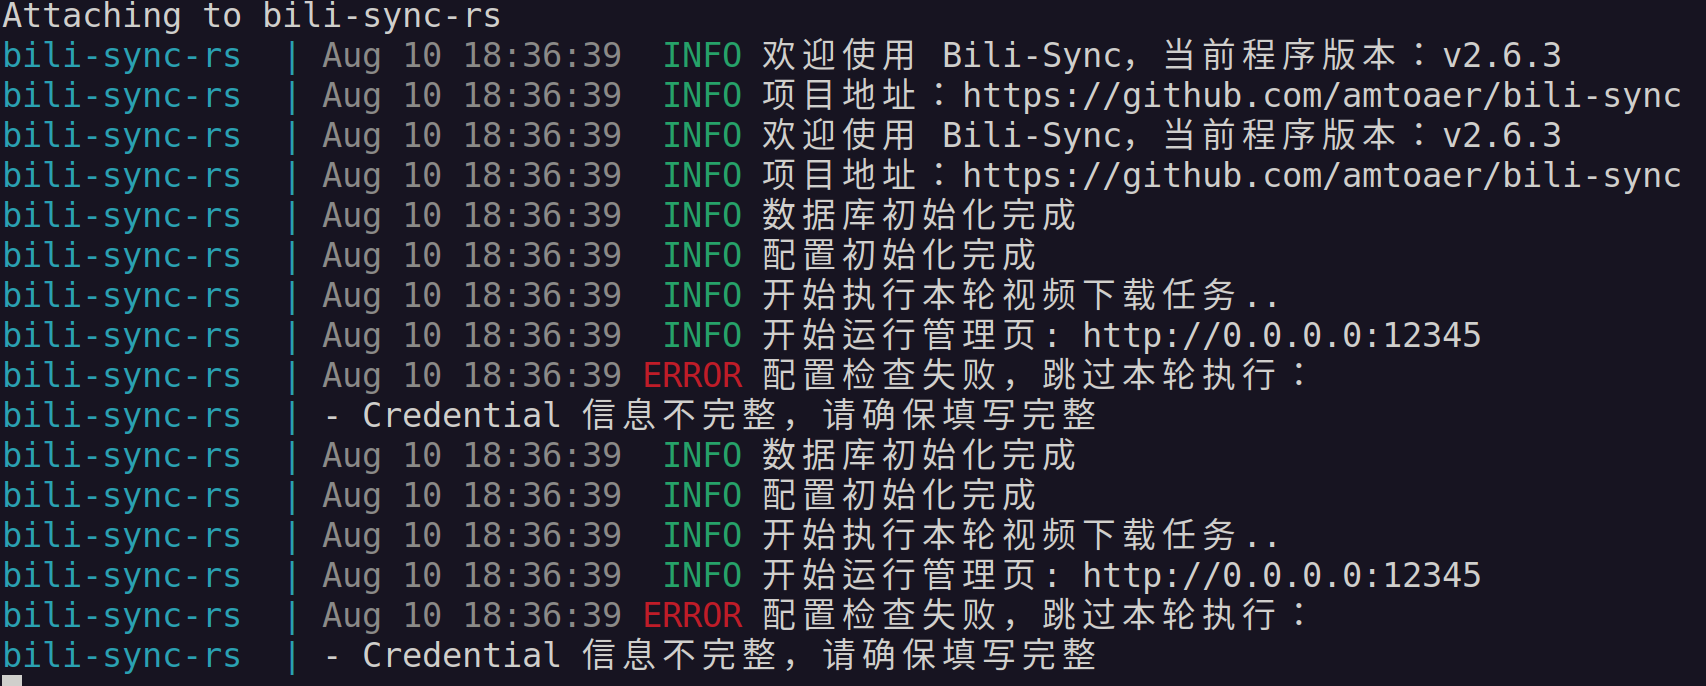
需要验证 auth_token

1 | |
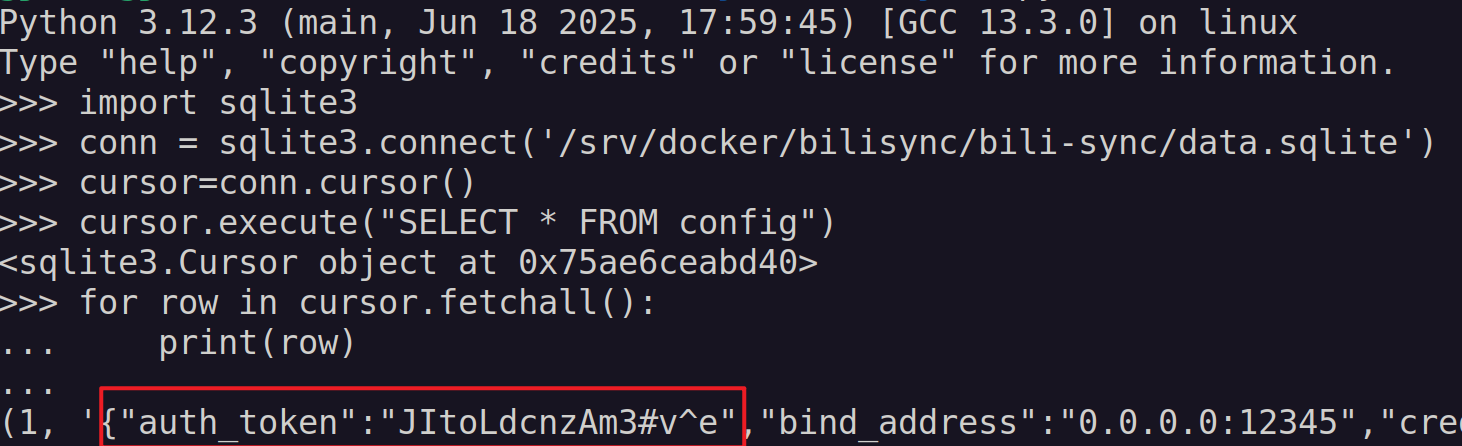
添加配置
window.localStorage.ac_time_value 获取不到
改为任一时间 console.log(new Date().getTime())
添加视频
收藏夹: 例如以下地址的fidhttps://space.bilibili.com/4677045/favlist?fid=xxxxxxxxx&ftype=create&ctype=21
N150 nas
https://gjorn4389.github.io/2024/08/16/nas/nas_N150/